A clean grinder determines whether herbs are easy to process or whether everything clogs and sticks. Cleaning your grinder isn't a chore, but rather the easy way to consistent grinds, better flavor, and more enjoyable use. Knowing what to do saves time, protects the grinder, and avoids common mistakes that can backfire later.
In the following sections, you'll find clear steps for each material, sensible, risk-free methods, and valuable practical tips. You'll learn when quick care is sufficient and when a more thorough approach is advisable. At the very end, you'll also find concise FAQs that directly answer frequently asked questions.
Cleaning your grinder starts with a quick check before cleaning.
Residue forms because resin and fine dust stick to the teeth, threads, and screen during grinding. If your grinder gets clogged, you'll notice it from stiff threads, sticky teeth, and a blocked screen that barely lets anything through. You'll quickly learn the most reliable way to clean a grinder: first, loosen the residue with a dry cloth, then carefully clean the area; this is the best method for many.
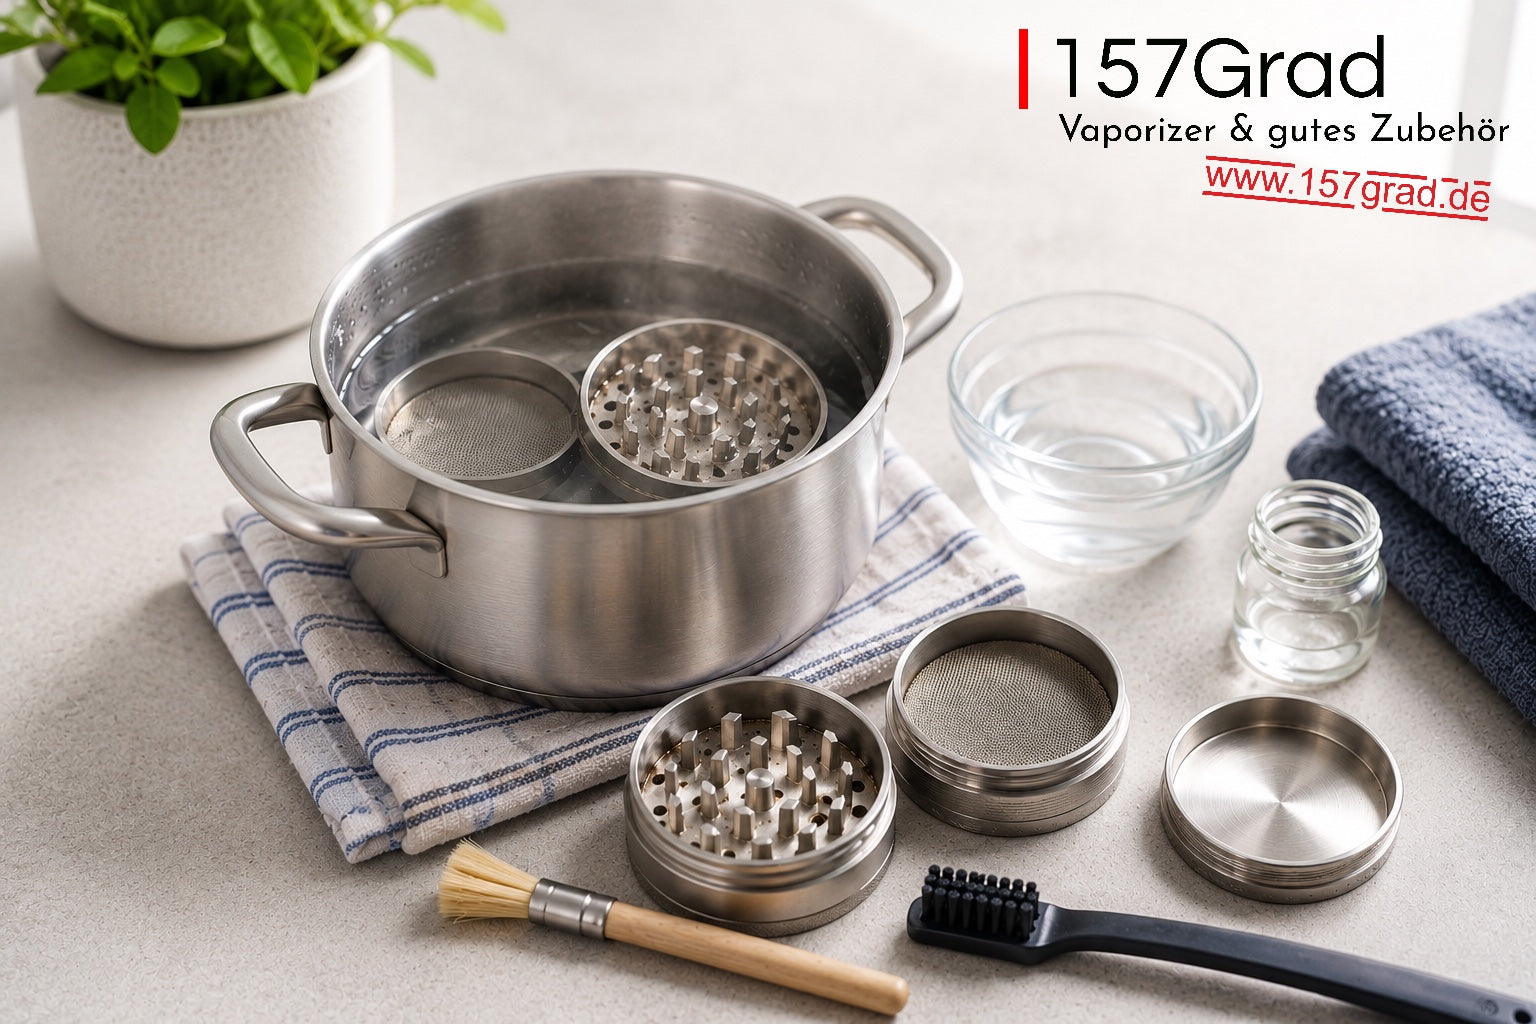
Set up a dedicated workspace and gather everything you need: water, a pot for hot rinsing, rubbing alcohol or 99.9% isopropanol (IPA) for stubborn stains, and a soft cloth. Plan for ten to twenty minutes and secure each piece in a small bowl to prevent it from rolling away. If you're also using a Norddampf vaporizer, a clean grinder will make an immediate difference, as less residue will end up in your setup.
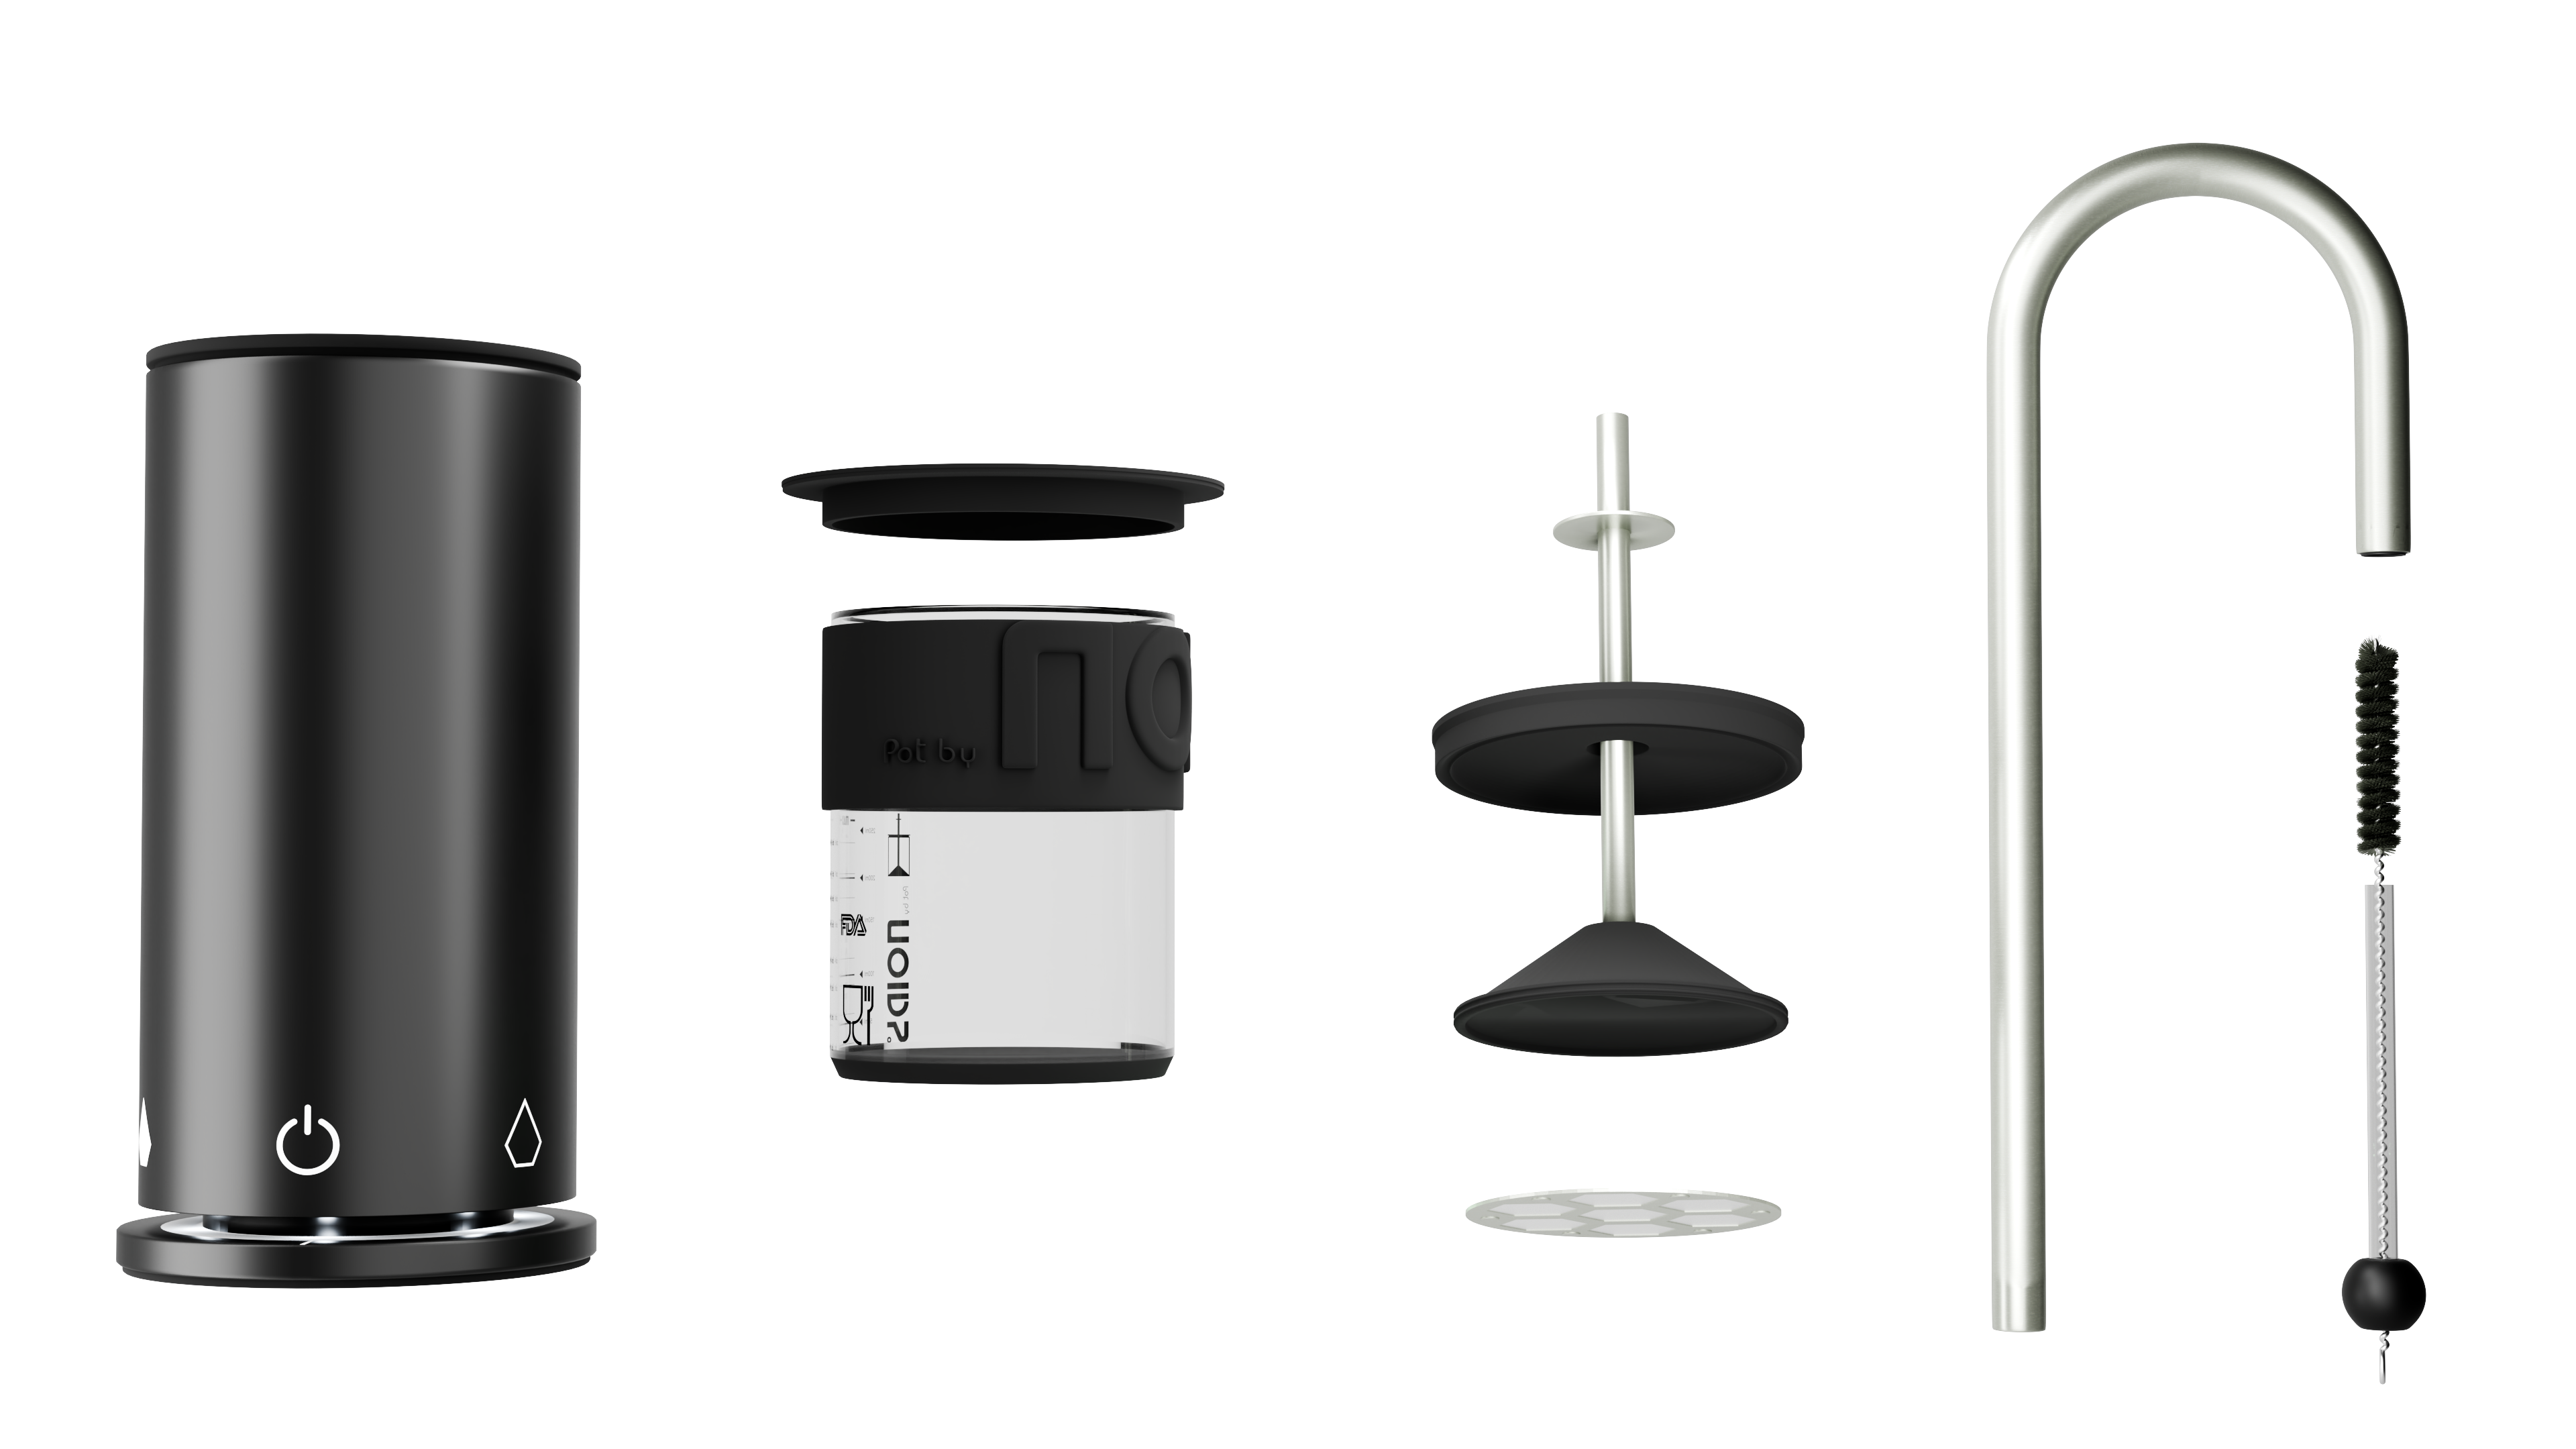
Allow each product to dry completely; otherwise, moisture and odors will impair its effectiveness. This is especially important for devices like the Pax Flow, where you fill the grinder with herbs very finely and evenly, as it ensures unobstructed airflow and stable flavor. Regular cleaning keeps your grinder running smoothly and saves you a lot of effort later on.
How to clean a grinder with instructions you can follow in minutes
For the Pax Plus, clean ground material is crucial, because otherwise herbs like cannabis become sticky and dirt can enter the air passage. There's a clear reason for cleaning your grinder properly: a clean grinder runs smoothly, grinds evenly, and ensures a longer lifespan. Maintaining your grinder keeps the flavor consistent and the lid closes properly.
Instructions in 6 steps
-
Remove the lid and disassemble the individual parts of your grinder.
-
Shake out any residue
-
Use a brush to loosen
-
Clean the grinder with alcohol if necessary and then wipe it down.
-
Let everything dry
-
Reassemble
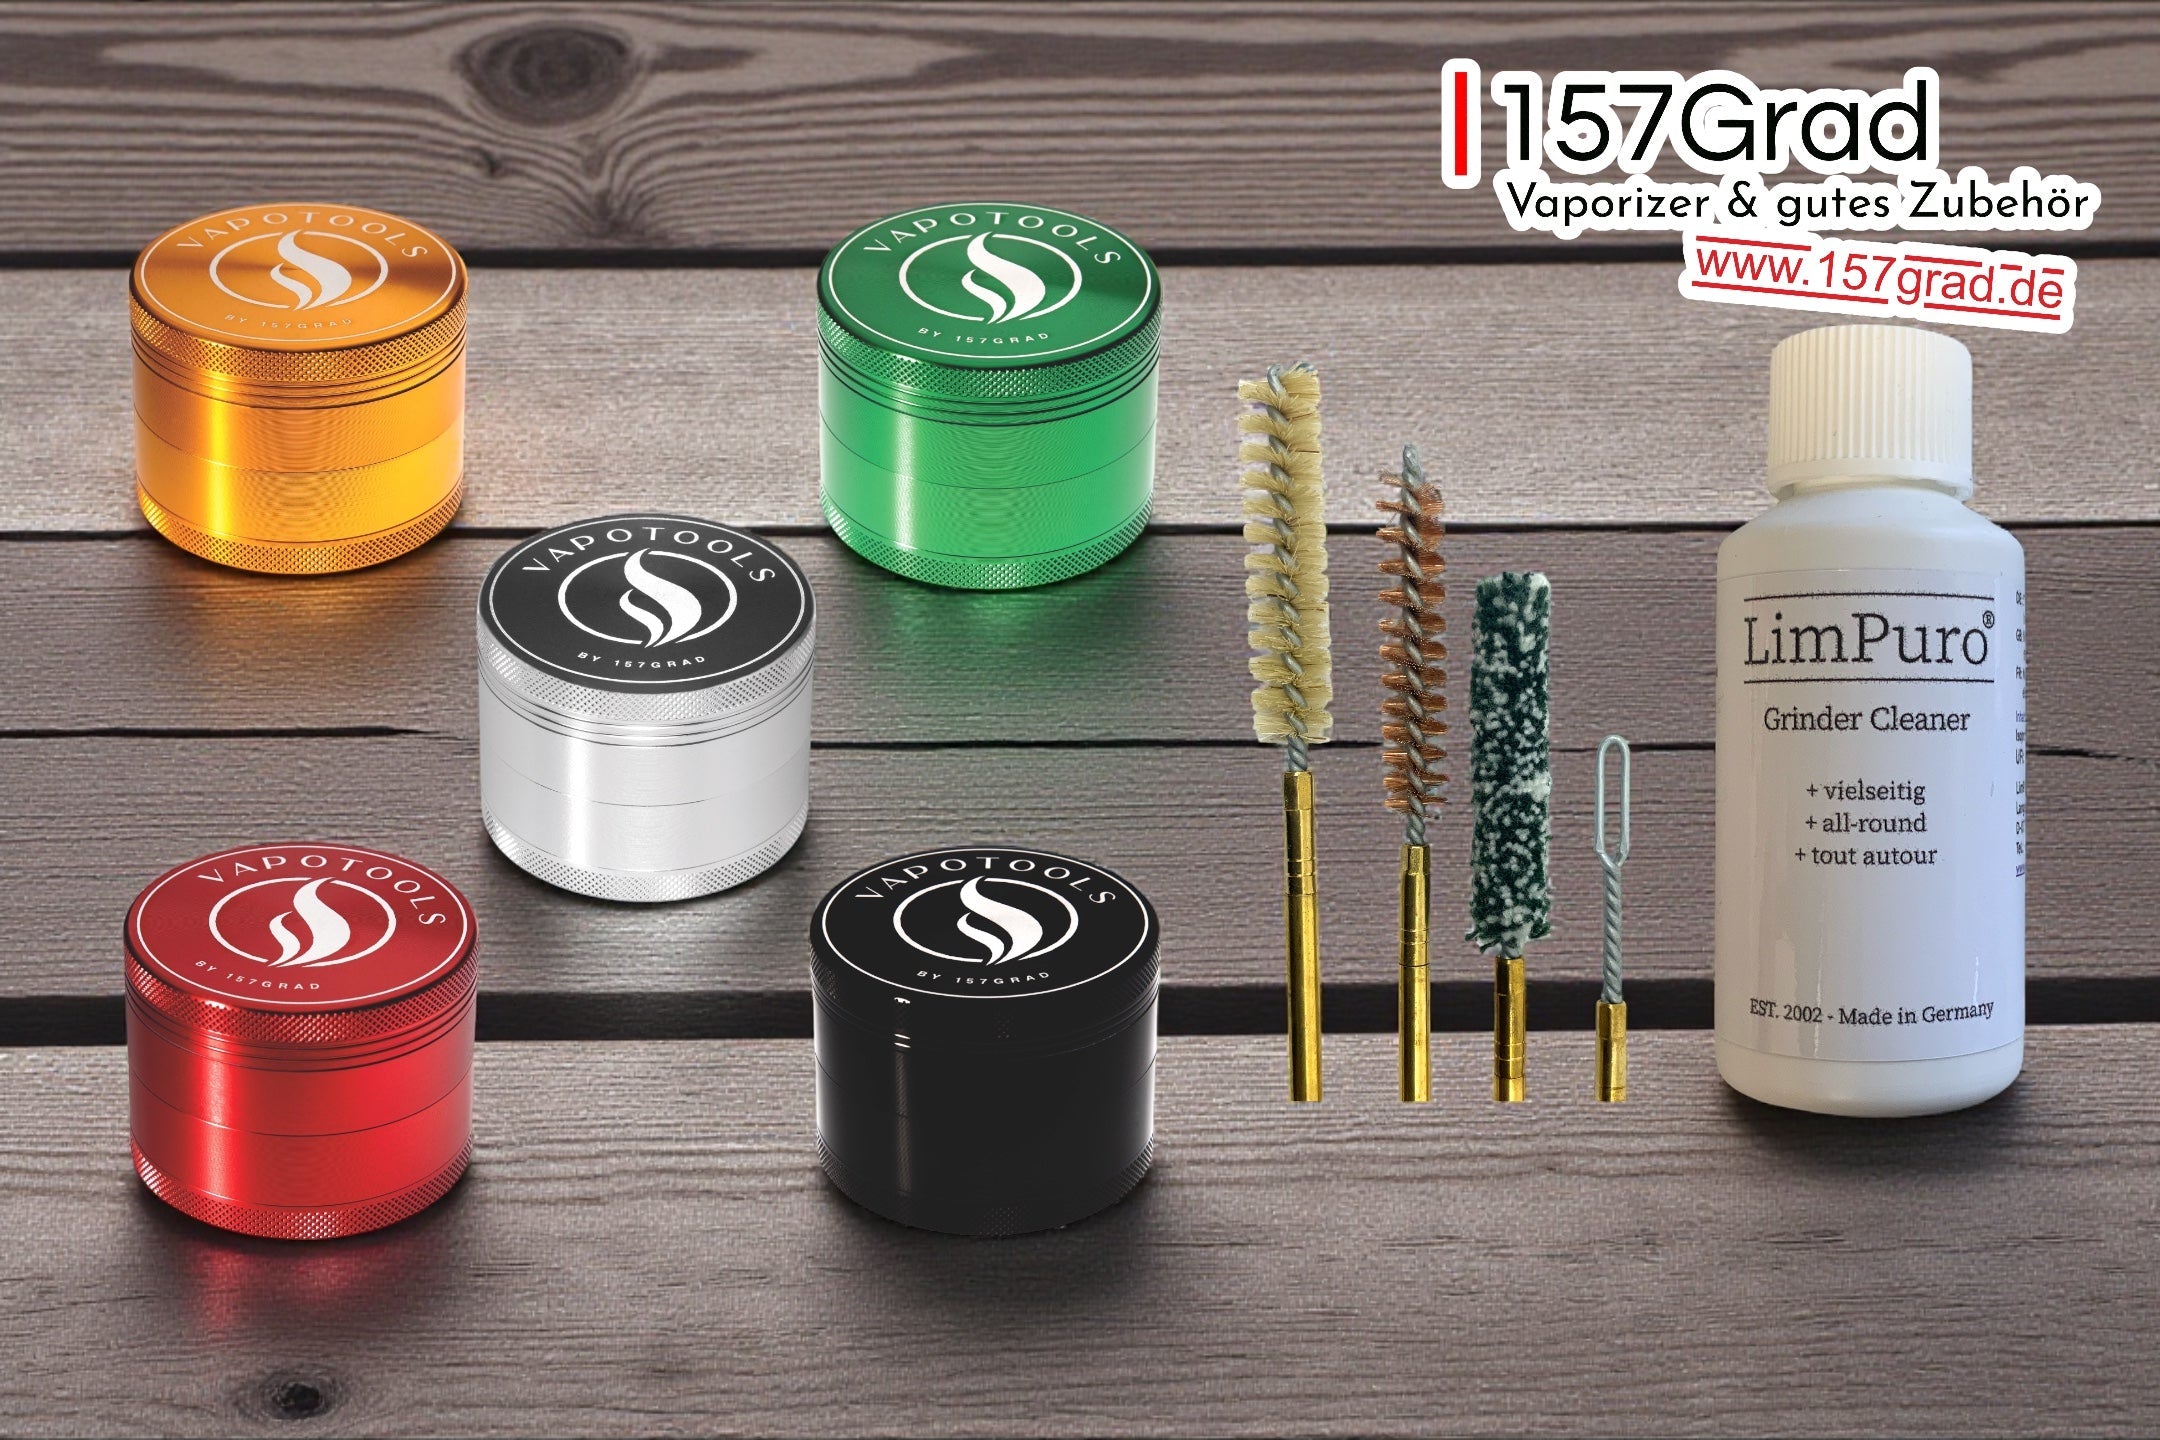
With the Vapotools by 157Grad Ceramic Herb Grinder (4-piece set), you won't lose any parts if you use a bowl and plan to clean the grinder screen separately. If the threads get stuck, a quick cleaning often helps instead of using force. With a Pax grinder, a quick cleaning after each use and a thorough cleaning as soon as the grinding mechanism becomes noticeably stiff are usually sufficient.
Clean the metal grinder so that it spins easily and grinds finely again.
Cleaning metal grinders is worthwhile because metal surfaces trap resin, quickly making the grinding mechanism stiff. With aluminum grinders, residue tends to accumulate on the teeth and in the screen, making proper cleaning especially important. Pay attention to details like threads and edges, use a scraper sparingly, and completely disassemble your grinder. An effective cleaning method will noticeably extend the lifespan of your grinder and maintain a consistent grind.
For cleaning, household remedies, warm water, and a little isopropanol are often sufficient. Short contact times prevent surfaces from tarnishing or becoming dull. When preparing herbs for the Pax Mini New Edition 2025, a clean grind pays off directly in the draw.
After cleaning, check that everything rotates smoothly and the screen is clear. A good tip is to do a quick function test before filling. Cleaning metal grinders this way works reliably, even with a metal grinder from The Bulldog, such as the The Bulldog Original Silver Metal Grinder 40 mm - 3-piece, even if it came from a head shop and has been frequently used with cannabis.
Only boil the grinder if it's absolutely necessary and you're doing it safely.
For Canamix grinders, such as the Canamix Grinder Ash Wood Pins 77mm , which is made of wood, boiling is not a good idea, even though cannabis resin can be stubborn and regular grinder cleaning can get tedious. Boiling is only advisable for robust aluminum grinders without a delicate coating and without seals that could come loose. Boiling water can deform parts, roughen threads, and damage surfaces, so carefully inspect the material and construction beforehand. When it comes to cleaning grinders, if you're unsure, it's best to leave it alone.
Heat is not something to be trifled with; use oven mitts and keep an eye on small parts. Cleaning grinders with alcohol is often more predictable because you can treat only the problem areas and keep the rest dry. This way, wood remains stable and metal stays clean.
Alternative steps if boiling is not suitable
-
Disassemble and tap out dry
-
Carefully loosen resin at edges
-
Treat problem areas selectively and wipe away.
-
Dry thoroughly and test function
With the Tightpac Grindervac, this alternative cleaning method is usually the safest choice, especially if parts do not appear heat-resistant or if you cannot accurately classify the grinder from a shop.
Boiling grinders in milk: what's behind it and what you need to pay attention to
Boiling grinders in milk is a common practice because fat can dissolve residues that have become stuck during grinding. Many hope that a milk bath will clean grinders more thoroughly than water alone and that resin will dissolve more easily. Realistically, however, the effect is limited, as this method doesn't clean grinders evenly and doesn't replace targeted cleaning of individual areas.
Odors, residue, and hygiene are the clear weaknesses of this method. Milk soaks into threads, sieves, and corners, is difficult to remove completely, and can promote unwanted germs in the kitchen. The cleaning result is difficult to control, especially if the grinder is later used for herbs.
You should avoid this method if cleanliness is important to you or if parts are sensitive. Dry preparation and targeted cleaning with suitable agents are more predictable. Combined with clean storage, such as in a 0.06 L Tightpac Vitavac vacuum container, your setup will remain hygienic for longer.
How to clean a plastic grinder without damaging the plastic or causing it to smell.
The best way to clean a plastic grinder is with warm water, a little mild dish soap, and a soft brush. However, it's important to know your limits: solvents, strong cleaners, and very hot water can damage the plastic and trap odors. Avoid boiling plastic grinders because heat can warp the lid and permanently deform the chambers.
To keep the teeth, chambers and lid mechanism clean, work gently and clean the corners carefully.
Gentle routine for your plastic grinder
-
Disassemble the grinder and tap it out dry.
-
Clean teeth and grooves with a soft brush
-
Rinse briefly and dry thoroughly.
-
Allow the individual parts to air dry before closing it.
-
Store in an odor-neutral container, for example in the INHALE Infinity Jar 200 ml.
This keeps the plastic grinder clean, reduces odor, and prevents it from accumulating residue in everyday use.
Clean a wooden grinder without stressing or swelling the wood.
Cleaning wooden grinders requires a delicate touch, as wood absorbs moisture, can swell, and tends to retain odors. Too much water damages the surface, roughens edges, and can alter the grinding pattern. Therefore, you should first clean the grinder dry and only use minimal moisture when absolutely necessary.
For gentle cleaning, use a soft brush and a slightly damp cloth; never soak the grinder. Remove sticky spots by briefly rubbing and immediately wiping dry, instead of soaking for a long time. Afterwards, leave the grinder open to allow any residual moisture to evaporate from the chambers.
For aftercare, clean storage helps prevent new residues from accumulating. Transporting your herbs in airtight bags like Noaks Bags keeps the surrounding area dry and reduces unwanted odors. This helps maintain the stability of wood and keeps your grinder running smoothly.
Alternative methods if you want to avoid boiling and harsh cleaners
If you want to avoid boiling, mechanical cleaning will suffice. Brushes loosen crumbs from teeth and grooves, wooden sticks remove resin from corners, and compressed air blows fine dust out of the screen. This is often enough to clean stainless steel grinders, and for ceramic grinders, it protects the surface from scratches. Screen maintenance is essential; otherwise, material will build up and the grinder will become tough.
Working with temperature and time allows you to work more calmly: gently heat, soak briefly, then loosen. Patience instead of force protects threads and edges.
Decision-making aid for your alternative
|
material |
gentlest way |
Time |
For which everyday life |
|---|---|---|---|
|
stainless steel |
Brush plus compressed air |
short |
frequent use |
|
ceramics |
soft brush |
short |
sensitive surface |
|
Wood |
Brush and cloth |
short |
dry care |
|
plastic |
brush plus warm water |
medium |
quick cleaning |
|
Mix |
wooden sticks, applied at specific points |
short |
on the way |
Storing things cleanly also helps; a CVault stainless steel storage container better controls odor and moisture.
Conclusion: Cleaning a grinder remains easy if you have a simple routine.
Cleaning your grinder is easiest if you choose the method based on the material. Metal can handle thorough cleaning, plastic needs mild products, and wood prefers to stay dry. Keeping this in mind will prevent gummed-up threads, clogged screens, and unnecessary wear and tear on your vaporizer accessories.
For everyday use, a mini-routine is sufficient: briefly tap out the grinder, brush through the teeth, keep the sieve clear, and store everything dry. For stubborn residue, plan a deep cleaning every now and then, including disassembly, targeted treatment of problem areas, and complete drying. This will keep the grind consistent and the taste clean.
Do a short run today and establish a consistent rhythm that suits your usage. Your grinder will thank you with smooth operation and less hassle when filling.